Head on a cube!

Having barely used Photoshop or Cinema 4D, I was a tad terrified when our lecturer said that we would be photoshopping our faces onto a 3D cube in Cinema 4D and animating it.

Turns out it wasn’t all that bad!

After we awkwardly had to take pictures of all the angles of our faces on a webcam, we then proceeded to edit the images in Photoshop. We set grid lines to make separate sections in which the pictures were pasted in and then edited to look like a continuous image of our face, excluding the top which had to be in a separate section on the top:

Yeh I know, I need to brush up on my photoshopping skills.

We  then saved each section of the face separately and transferred the files to Creative 4D. After recovering from a momentary blackout once realizing how truly complex Cinema 4D really is, I proceeded to carry on with our assigned task.

First thing we had to do was create a cube which was far less complicated then I originally thought before becoming familiar with Cinema 4D basics. I simply chose the predefined cube from the Primitives group! I then moved on to importing the Photoshop files of my face as materials to paste onto my cube.

In the Materials Manager, click Create and then New Material
Once you double click on the material you just created, this window pops up. Click on the ellipsis to import the pictures of your face
Once you double click on the material you just created, this window pops up. Click on the ellipsis to import the pictures of your face from Desktop or wherever you have saved your files
And here you can see all my imported images as the materials I will be using to paste onto my cube
selecting faces
Making sure you have made your cube editable (very important!) select the “Use Polygon tool” in order to be able to select one face of the cube. The face selected becomes highlighted in white.
You then simply drag and drop the material onto the selected face!
You then do the same with the rest of the faces until you get this!

It has to be said – we all looked pretty ridiculous. There wasn’t one straight face in the classroom!

I then cloned my cube and changed the values shown in red in order to space out my cubes
I then change my floor a collision body which makes it act like a barrier meaning the cubes cannot go through or past it.
I then gave the cloner a soft body so that the cubes would fall and topple over
There are a lot of options in the Attribute Manager where you can alter things such as friction and bounce, which changes the way the cubes react to each other or the floor on impact

You can find my very short animation here: https://vimeo.com/110232109

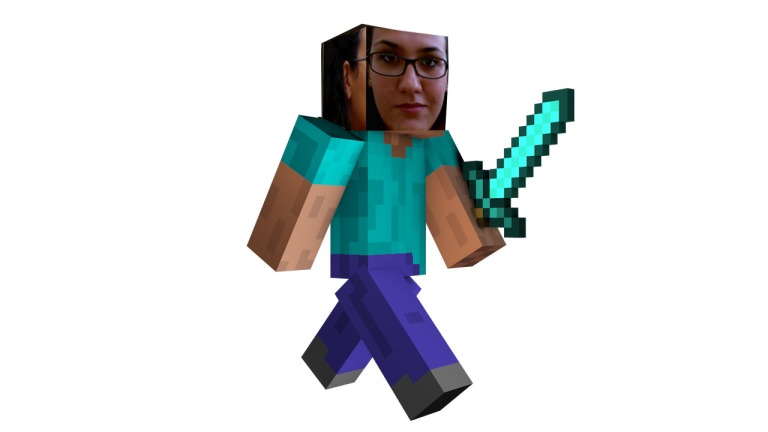
In the end, it turned out to be a very light hearted, interesting and informative lesson which made 3 hours zoom by! And for those of you who are Minecraft lovers like me… this is literally what I was thinking about throughout the whole lesson.

Theaminecraft

Leave a comment